Fingerboards are more than just a scaled-down version of skateboards. They’re a canvas—an outlet for creativity, a way to make something truly yours. And if you’ve ever built your own deck or added your own graphic, you know: the real fun starts when you start customizing.
Whether you're into raw natural wood, bold illustrations, or eye-catching splatter effects—this guide walks you through 13 powerful ways to apply graphics to your fingerboard decks, each with an inspiring image and practical tips.
From traditional wood dyes to modern heat transfer, this article is your go-to inspiration board. Let’s dive in.
📚 Table of Contents
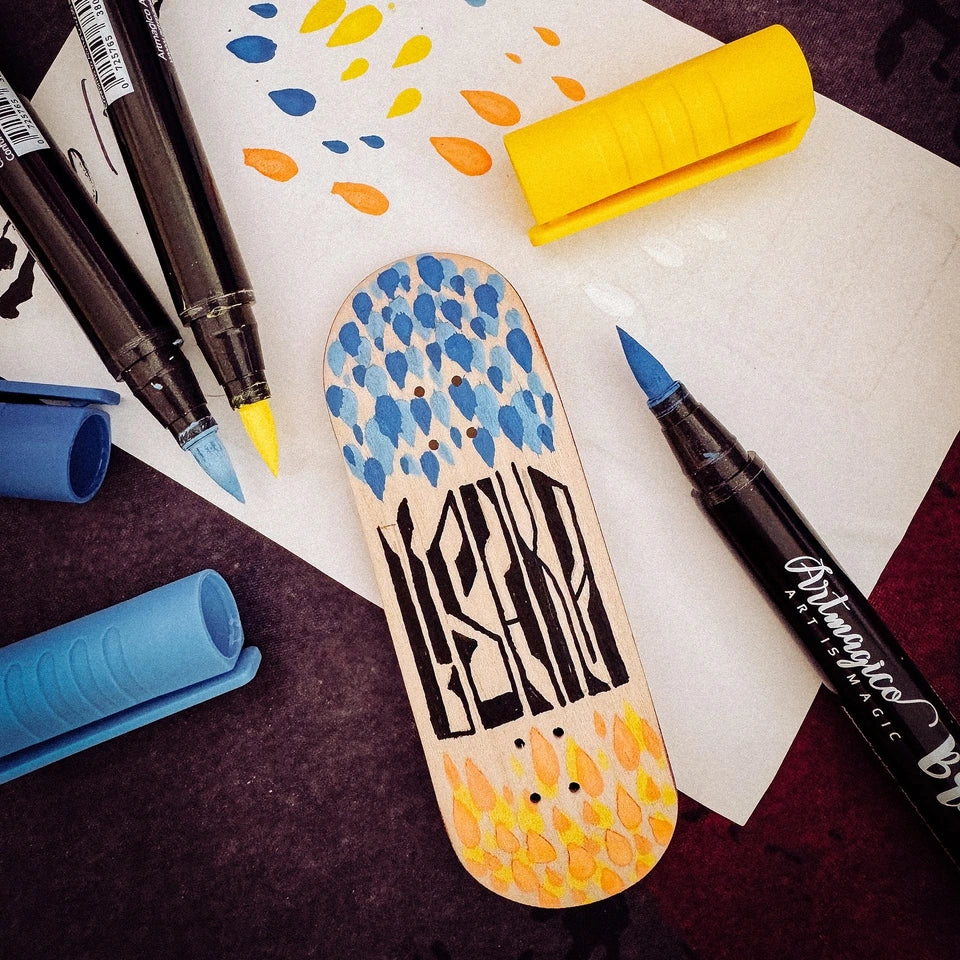
1. Hand Painting
Hand painting is a favorite among creatives who want total freedom over design. Whether you're into detailed illustrations or bold abstract styles, this technique gives you full control over every brushstroke. Acrylic paints, paint pens, or even airbrushes work well for different looks and skill levels. It’s expressive and detailed—perfect for showing off your artistic vision on a miniature canvas.
Markers, paint pens, brushes—it's all up to you.
🎨 So It Works
- Sand the deck smooth to help paint adhere
- Lightly sketch your design with pencil
- Use acrylic markers or fine brushes for detail work
- Let it dry thoroughly, then apply clear coat

Source: @paccafngr on Instagram
2. Spray Paint
Spray paint is ideal for backgrounds or gradients. Always work in a well-ventilated area or outdoors to ensure safety when using aerosol paints. It covers large areas fast and works well with stencils or tape for layering.
Combine spraying with masking for layered effects.
🛠️ Quick Guide
- Lightly sand the surface and lay down a base coat
- Use stencils or tape to add shapes or text
- Spray from 20–30 cm away in short bursts
- Once the paint is dry, remove the tape to reveal your design
- Seal when fully dry

Source: @paccafngr on Instagram
3. Colored Veneers
Colored veneers are dyed sheets of wood that you stack into your deck. They’re one of the most straightforward ways to bring color into your build without adding paint. Used smartly, they give your deck a professional, layered aesthetic and can shine on both the edges and the underside.
Classic yet colorful—colored veneers are a staple in board building.
🛠️ Quick Guide
- Choose pre-dyed veneers in colors that contrast well
- Layer them strategically: place bold colors on the outer plies
- Press and shape your deck as usual
- Sand the edges to reveal the color layers in the final form

Source: @dwoodfingerboards on Instagram
4. Splitply
Splitply is a true woodcraft technique. It involves piecing together different colored veneers like a mosaic to form a graphic that runs through the wood itself. Each board is a labor of love, making it a favorite among advanced DIYers.
Every piece is unique—like a mini parquet masterpiece.
✂️ How It’s Done
- Cut veneers into small shapes based on your planned design
- Glue them together on a flat surface, forming one large graphic layer
- Let it dry under pressure to avoid warping
- Use this mosaic as your bottom ply and press your deck

Source: @pi.ramps on Instagram
5. Veneer Dying
This technique allows you to personalize raw wood with custom color gradients or subtle washes. Dying brings out the grain texture and results in a super natural look—especially when done by hand.
A smooth gradient like this is only possible when you dye your own veneer.
🔧 Step-by-Step
- Choose water-based dye or alcohol ink for even absorption
- Apply the dye with a sponge or brush in long strokes
- Allow to fully dry, ideally overnight
- Integrate the dyed veneer into your ply stack as desired

Source: @twiddleboarder on Instagram
6. Paint Splatter
This energetic technique adds a chaotic and playful character to any board. Popular in street art, splatter painting is quick, fun, and completely unique each time.
No two decks ever look the same—each is a burst of color and energy.
🛠️ Quick Guide
- Lay your deck on a covered work surface
- Dip a brush into watered-down acrylic paint
- Flick it toward the board using your fingers or a stick
- Repeat with several colors, then seal with lacquer
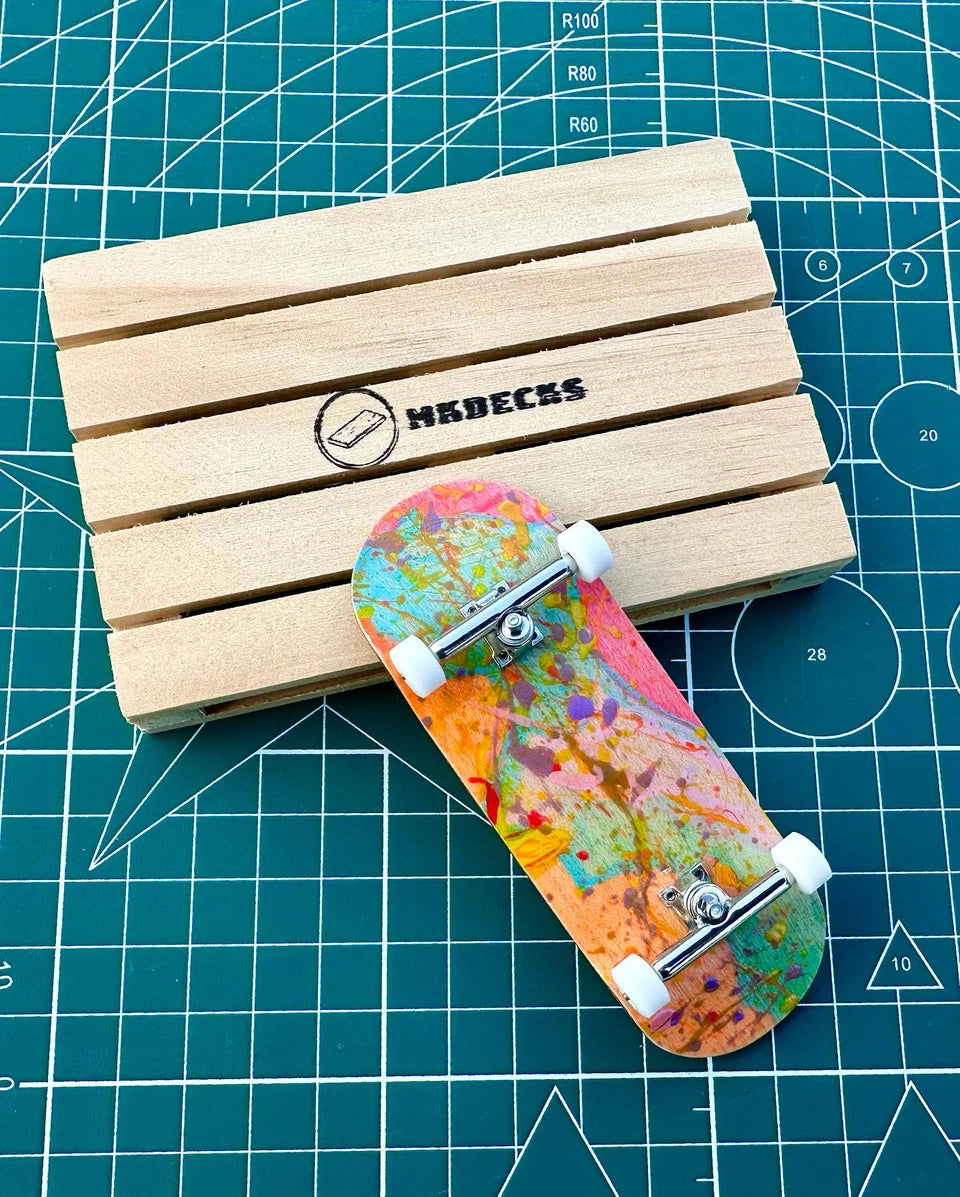
Source: @mkdecks on Instagram
7. Heat Transfer / RealWear
For pro-level results, heat transfer is the way to go. You print your artwork on transfer paper, then apply it with heat and pressure for a permanent, full-color graphic. Please note: you’ll need a heat transfer machine and specially printed heat transfer foils for this method. These can often be found through online print shops or DIY skateboard supply stores. If you don’t have access to one, consider trying water decals or paper graphics as a more accessible alternative.
A heat transfer machine in action – pro look, pro feel.
🔧 Step-by-Step
- Print your design in mirror image on heat transfer paper
- Place it on the wood and cover with baking paper
- Use a laminator or heat press to apply pressure
- Peel away the backing and admire your clean graphic

Source: @Fingerindustries on Instagram
8. Water Decals
Like model kit decals, this method uses thin, transparent designs you soak and slide onto your deck. It's perfect for logos or tiny details.
Comic-inspired details with maximum sharpness.
🛠️ Quick Guide
- Soak your decal in water for 20–30 seconds
- Slide it onto the wood and position carefully
- Gently press with a paper towel to remove air bubbles
- Let dry and finish with a clear protective coat

Source: @fbnature77 on Instagram
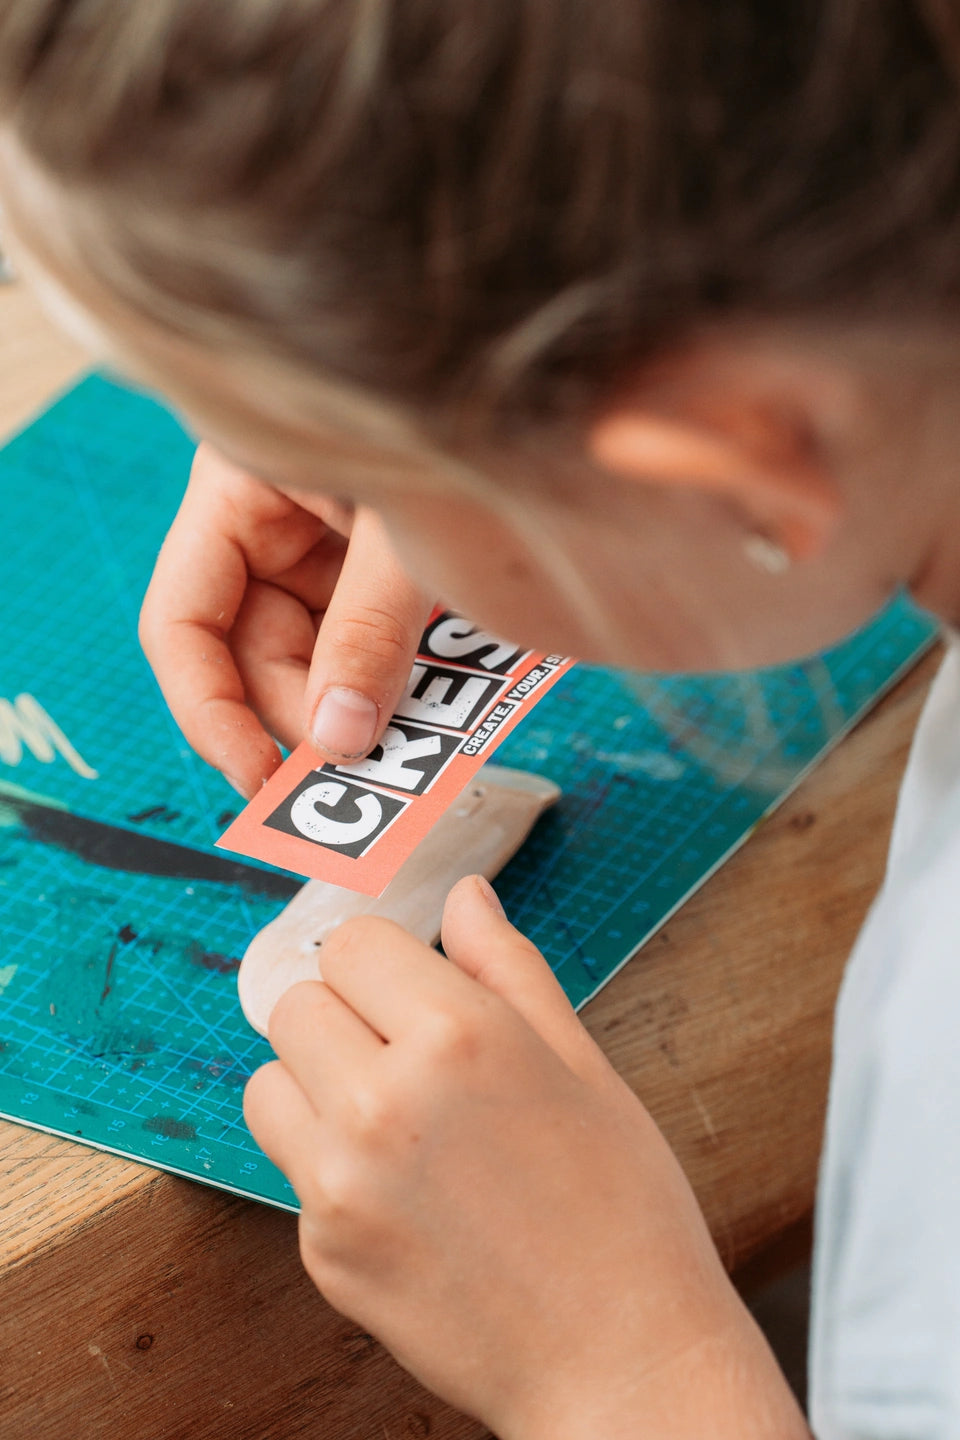
9. Paper Graphics
A favorite for beginners and pros alike: print your own design on paper, glue it to the deck, and seal it. It’s super affordable and can look just as clean as pro methods.
A perfect project for beginners—and still fun for pros.
✂️ How It’s Done
- Print your graphic on rice or printer paper
- Apply a thin coat of wood glue to the deck
- Lay the paper and press out wrinkles
- Let it dry fully, then apply a clear coat
Source: @create.your.skate on Instagram
10. Laser Engraving
Laser engraving burns intricate patterns directly into the wood. The result is durable, textural, and totally custom—perfect for logos or detailed art.
The patterns here are not printed—they're burned in.
🧠 So It Works
- Design your artwork in vector format
- Upload to your laser cutter software
- Set engraving depth and speed based on veneer type
- Run the laser on a sanded, flat surface

Source: @stinkefingaz_fb on Instagram
11. Screen Printing / Pre-press Printing
Used in small-batch board production, screen printing involves applying ink to veneer before pressing. This embeds the graphic into the wood itself.
Perfect for batch production or clean logo placements.
🔧 Step-by-Step
- Create a screen with your desired graphic
- Lay veneer flat and pull ink over screen
- Let dry completely before pressing
- Assemble into your ply stack and press as usual

Source: @atomicfingerboard on Instagram
12. Recycled Skateboards
Have an old board lying around? Give it a second life by cutting it down, reshaping it, and turning it into something new. The scuffs, pressure cracks, and aged graphics add authentic character to your next deck.
Creative upcycling at its best.
🧑🎨 Here's How
- Cut thin, even strips from an old skateboard deck – you can go horizontal or vertical depending on whether you want to highlight the original ply layers or parts of the old graphic
- Sand the pieces flat and uniform using a belt sander
- Use the splitply technique to piece them together into a new graphic layer
- Stack your plies and press the board just like any regular build

Source: @sffingerboards on Instagram
13. Stamping
Stamping is simple but super effective for bold logos or repeat patterns. All you need is a custom stamp and some ink or paint. There are various DIY methods for making your own stamp—search online tutorials for step-by-step guides.
Quick, clean, and personal.
✍️ Quick Guide
- Prepare your stamp and ink pad or paint
- Apply ink evenly to the stamp
- Press firmly onto the deck surface
- Let dry and seal with clear coat

Source: @antidotefingerboards on Instagram
🚀 Start With the Right Deck
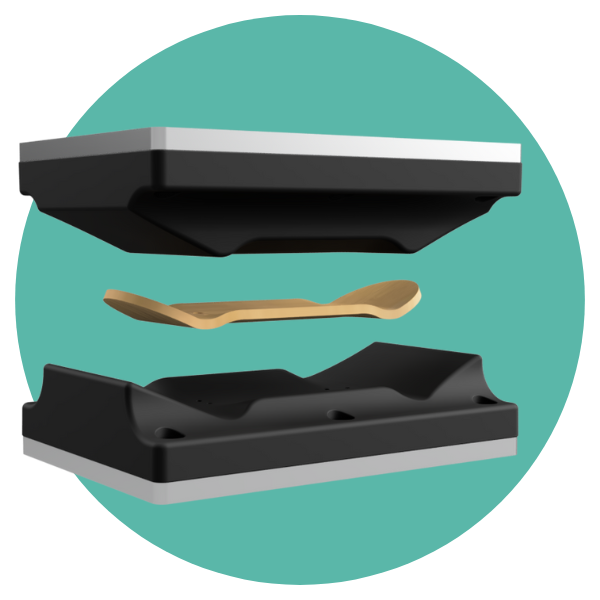
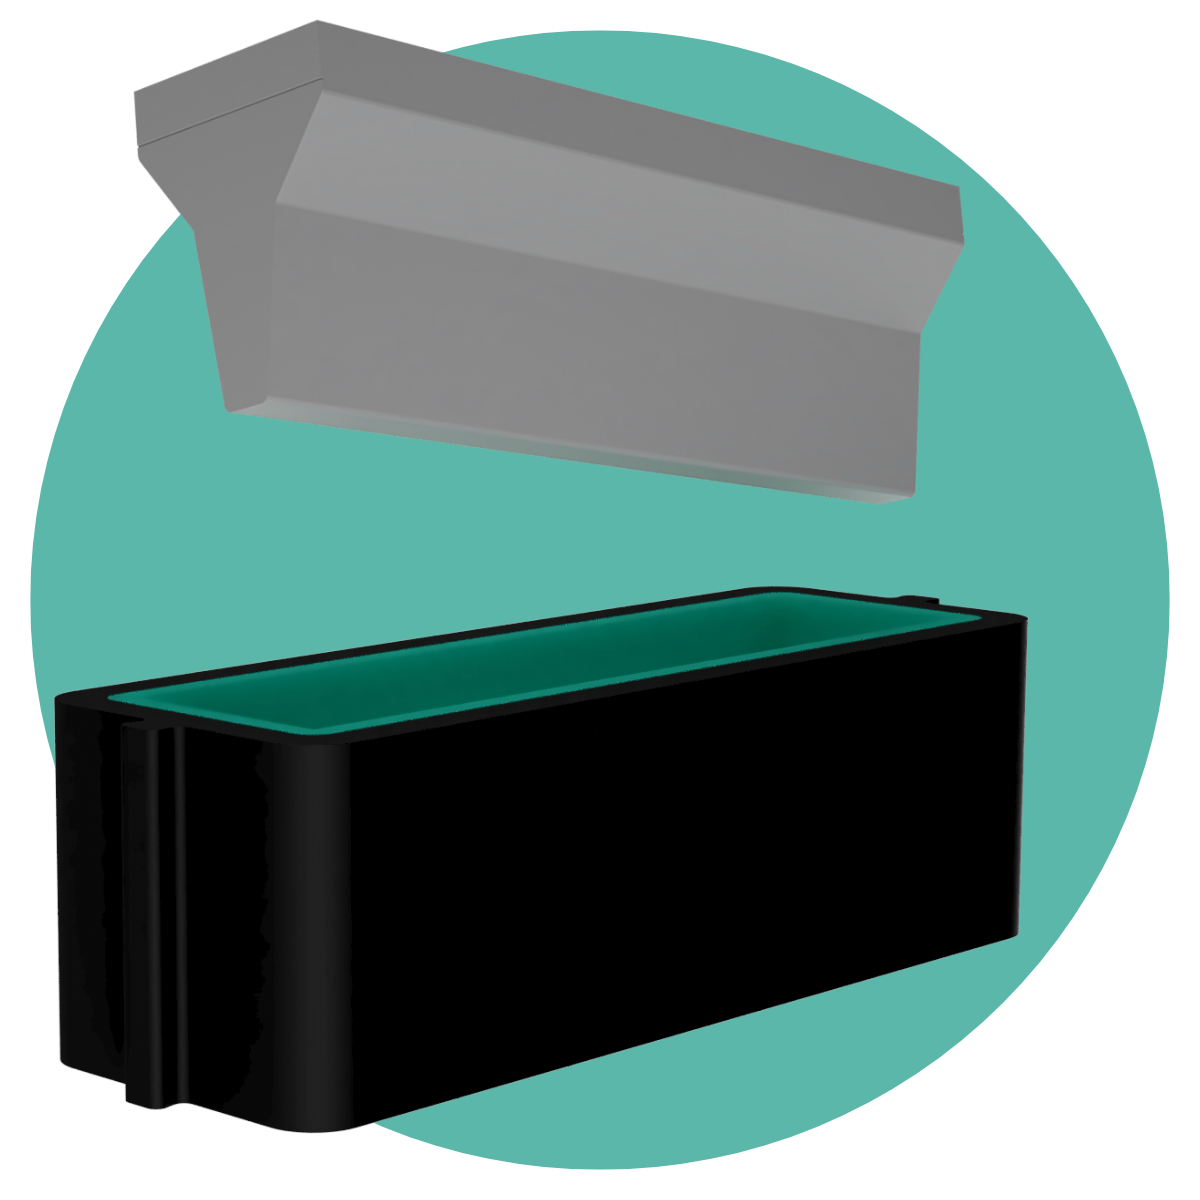
No matter how creative your ideas are, it all starts with a solid DIY deck—and that’s where CRESKATE comes in.
Our DIY fingerboard kits give you:
- Professionally designed molds
- High-quality veneers
- Sample paper graphics to get started
- The freedom to make something 100% yours
📍 Ready to create your own masterpiece?
👉 Get the Beginner Mold Set now and build your first graphic-ready deck from scratch.

Stay tuned—we’ll be releasing step-by-step guides for each of these techniques soon here on the blog!