

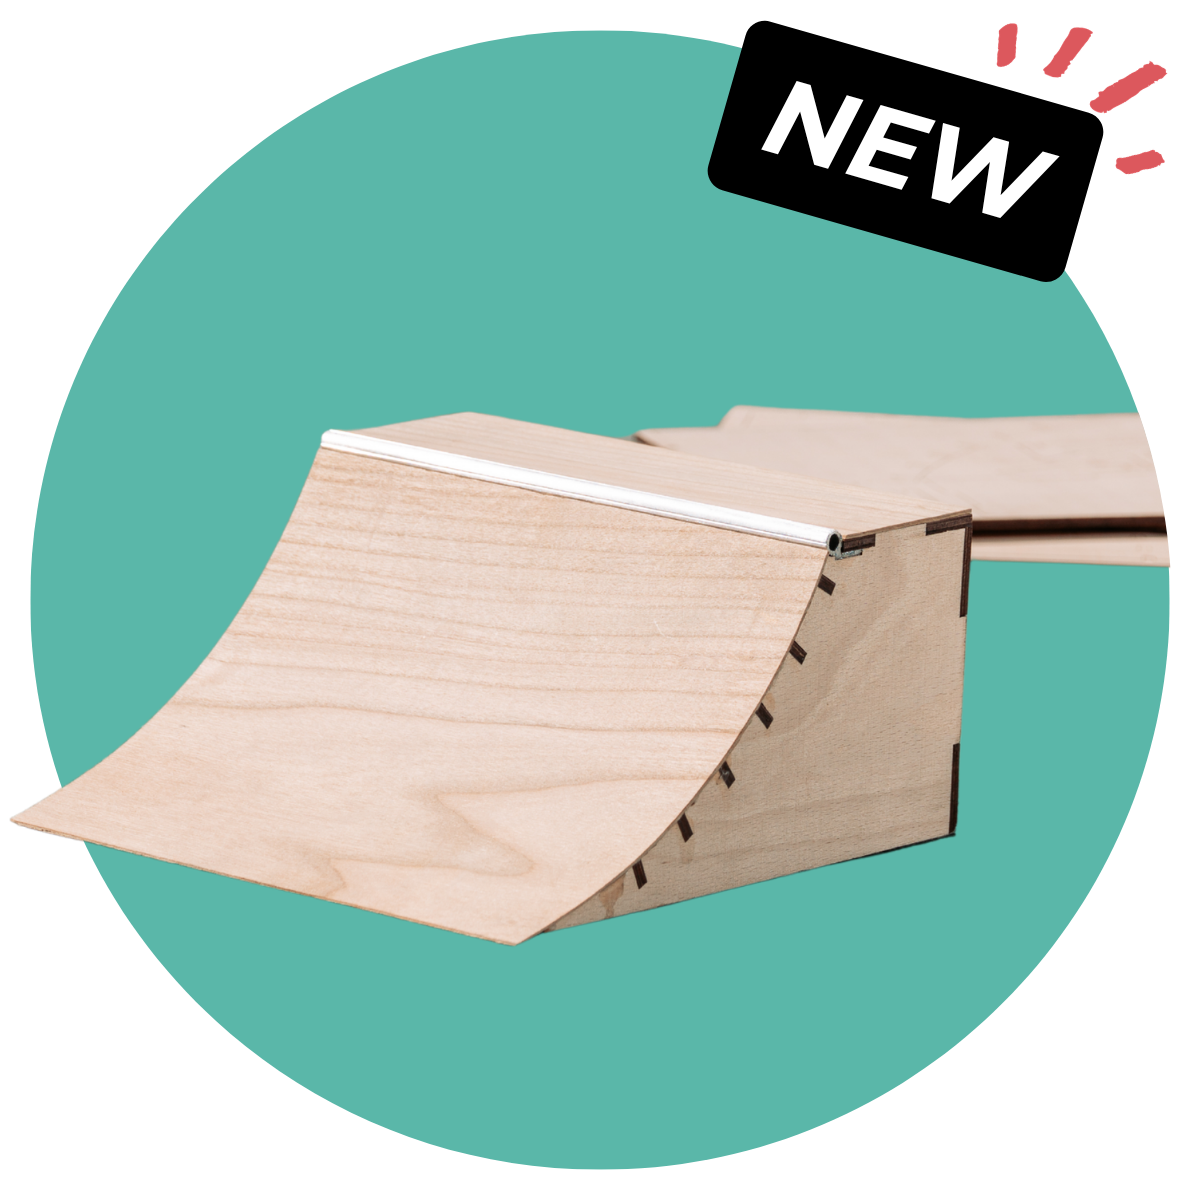
Build your CRESKATE Curb & Kicker Kit step by step. Start with the curb, then continue straight on with the kicker. Before you begin, prepare a clean, flat work surface and have a cloth, fine sandpaper, scissors and wood glue ready.
Skip directly to the Kicker Tutorial
Curb Tutorial
1. Prepare the Wooden Parts
Lay out both carrier sheets and all additional parts. Check that everything is included (1). Carefully remove the larger wooden parts first (2), then the smaller and more delicate pieces (3). Sort the curb parts before building (4). Lightly sand away any remaining holding tabs (5).
Before applying glue, assemble the entire curb once without glue. This lets you test every connection and get familiar with the parts and the building order (6).
Attention: Never force parts out of the carrier sheets. Support thin pieces with your fingers and work slowly to prevent them from snapping.


2. Assemble the Curb Frame
Tip: Look closely at the following pictures. Some parts can easily be installed the wrong way round or mixed up with the kicker parts.
Find the two inner supports with a cut-out in the middle. Make sure you do not use the matching kicker supports—you will need those later. Also find the side panel with tabs along its upper edge (1). Apply a small amount of wood glue to the tabs of the two inner supports (2) and insert them into the first side panel in the correct orientation (3). Wipe away any excess glue immediately with a cloth.
Once the two centre supports are connected to the first side panel, apply glue to their tabs and fit the second side panel (4–5). Then glue the two smaller outer supports, without cut-outs, into both ends of the curb frame (6).
Apply glue to the four cut-outs for the round grind edge (7) and insert the metal tube as shown (8).
Tip: Before adding glue to the tube cut-outs, test-fit the round grind edge first.


3. Add the Round Grind Edge and Top Panel
Apply glue to the flat metal face of the round grind profile (1) and to the upper contact surfaces of the wooden frame (2). Then carefully fit the top panel onto the curb (3). Check the curb from above and from both ends before the glue sets (4).
Wrap strips of tape around the corners to clamp the individual parts together securely (5). This helps create clean, flush edges. A straight frame is essential for an even curb and clean grinds.


4. Add the Second Grind Edge and Riding Surface
Apply a small amount of glue to the angular metal grind edge (1), then position it straight and flush along the opposite curb edge (2). Apply wood glue evenly to the pre-cut wooden riding surface (3) and spread it out evenly (4). Place the surface on the curb, align it with all outer edges (5) and press it down firmly.
Use strips of tape over the edges to clamp the surface to the curb (6). If the tape is not strong enough, turn the curb upside down, place it on a spare carrier sheet so the round edge can overhang (7), then add a few heavy objects such as books (8). This applies even pressure across the whole riding surface.
Attention: Keep glue away from the visible riding and grinding surfaces. Wipe away excess glue before it dries.
Tip: Place a clean protective sheet between the riding surface and the weight to avoid marks.


5. Finish the Curb
Remove the tape and check that all edges are straight and flush (1). Add a little glue if needed, or carefully sand any overhanging edges smooth.
Cut the supplied fingerboard tape into strips about 4–5 mm wide (2). Stick them to the underside of the curb (3) so it stays securely in place during your session. Give the curb one final check (4), then set it aside while you build the kicker.


Kicker Tutorial
The kicker tutorial is completely self-contained. You can build it on its own, or combine it with your curb for more line options.
What You Need
- Laser-cut wooden kicker parts
- Pre-cut wooden riding surface
- Supplied fingerboard tape for the underside
- Fine sandpaper
- Wood glue (not included; any suitable wood glue will work)
1. Start the Kicker
Remove all kicker parts carefully from the carrier sheet. Lightly sand away any remaining holding tabs and sort the parts before you start.
Apply a small amount of glue to the tabs of the kicker back panel—the piece with the cut-outs (1). Attach both kicker side panels to the back panel (2). Make sure everything is square and straight, then remove excess glue with a cloth while it is still wet (3).
Apply small dots of glue to the ends of the supports (4) and insert them one by one into the slots in the kicker side panels (5). Check that every support sits flush with the side panels (6).
Tip: Use only a small amount of glue. Too much glue makes the connections harder to assemble.


2. Add the Riding Surface and Anti-Slip Tape
Apply an even line of glue to the top of every support (1). Place the pre-cut riding surface on a flat table, then carefully lower the kicker frame onto it (2). Press the frame down evenly along the full surface (3).
While the glue cures, cut the supplied fingerboard tape into thin 4–5 mm strips (4). Once the glue is dry, attach them to the lower supports on the underside of the kicker (5). This helps keep it from sliding during your session.
Lightly sand the underside of the ramp’s entry so you can roll onto it smoothly (6). Round over any sharp or overhanging edges with fine sandpaper (7). Your kicker is ready to ride (8–9).
Attention: Any overhang can prevent the kicker from sitting flat. Correct the alignment before the glue begins to set.


Don’t forget: You can design your ramp in any style you like. Acrylic markers work especially well for this. Have fun making it your own!

