

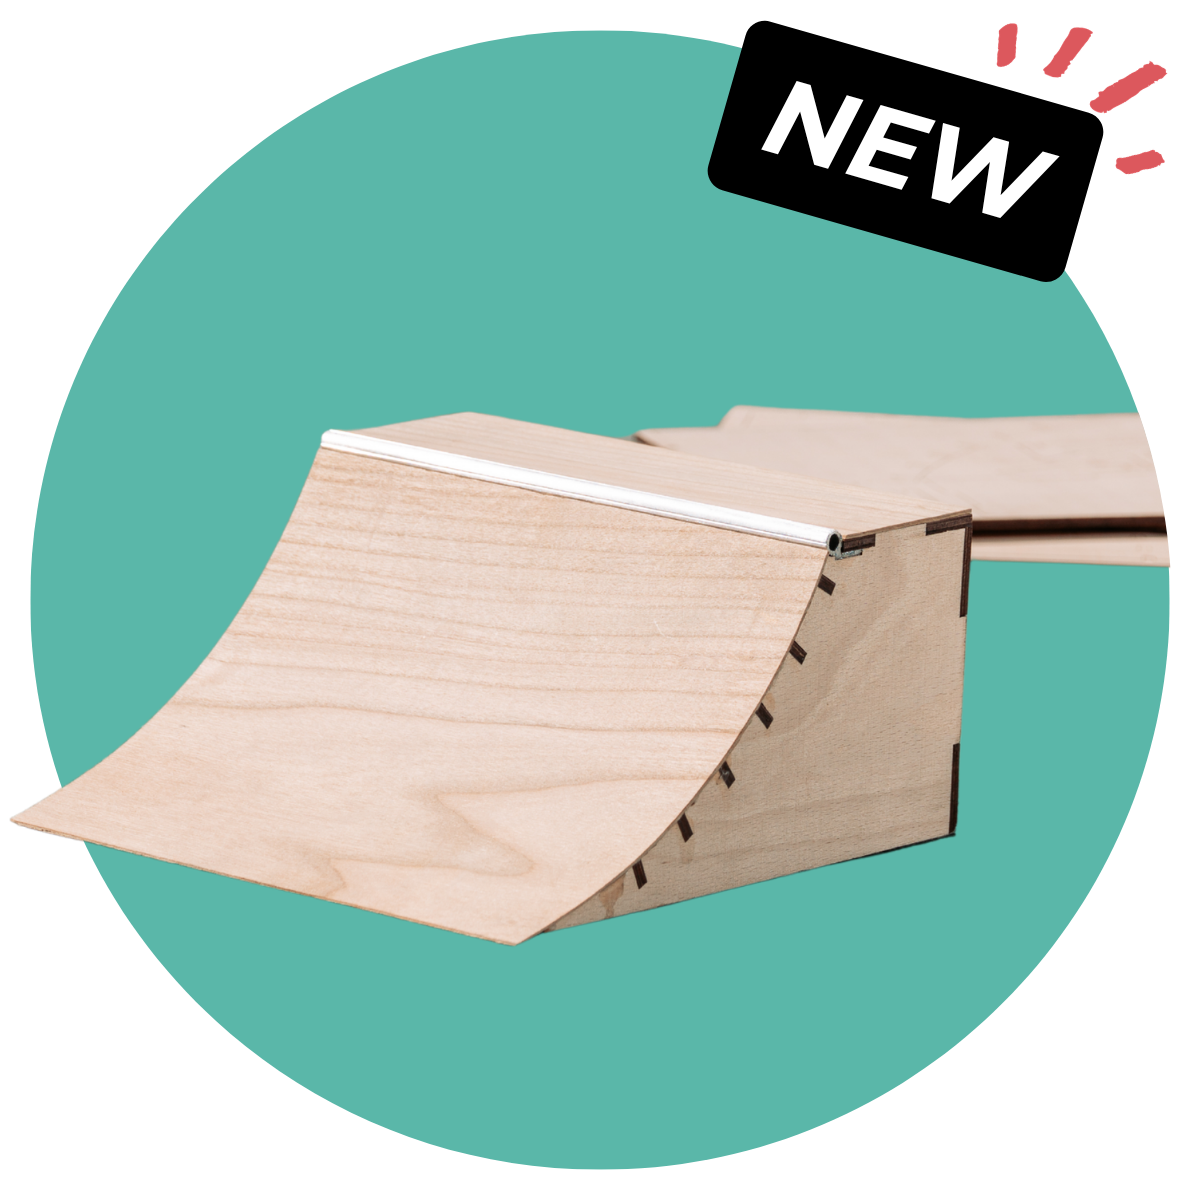
Learn how to assemble your CRESKATE Quarter Ramp step by step. This tutorial guides you through preparing the wooden parts, building the frame, installing the coping and attaching the riding surface.
Video Tutorial
Step-by-Step Tutorial
Prepare the Wooden Parts
Lay out all wooden sheets and check that every part is included (1). Carefully remove the larger pieces from the sheets (2), followed by the smaller and more delicate parts (3). Use fine sandpaper to remove any remaining holding tabs and smooth the edges (4). Test-fit the pieces before applying glue so you know where every part belongs.
Attention: Do not force the parts out of the sheets. Support thin pieces with your fingers and work slowly to prevent them from snapping.
[Image 1 – _DSC0377.jpg]
[Image 2 – _DSC0382.jpg]
[Image 3 – _DSC0409.jpg]
[Image 4 – _DSC0414.jpg]
Build the Main Frame
Arrange the three curved ribs and the rear panels in their correct positions (5). Glue the small front support pieces together (6) and check that all support elements are seated fully and square (7). Apply a thin layer of wood glue to the connecting tabs of the side and rear panels (8). Insert the first rib into the base and rear section (9), then add the remaining ribs. Align all three ribs so they are parallel and stand at a 90° angle to the base (10).
Tip: Remove excess glue immediately with a slightly damp cloth. Clean joints make it easier to fit the following pieces.
[Image 5 – _DSC0421.jpg]
[Image 6 – _DSC0428.jpg]
[Image 7 – _DSC0440.jpg]
[Image 8 – _DSC0445.jpg]
[Image 9 – _DSC0449.jpg]
[Image 10 – _DSC0455.jpg]
Install the Supports and Coping
Apply glue to the front support assembly (11) and insert it into the slots across all three ribs (12). Press the triangular reinforcements firmly into place (13). Continue by inserting the curved cross supports one after another (14). Make sure every support is pushed fully into its slot and follows the curve evenly. Add a small amount of glue to the upper coping supports (15), then position the metal coping so it sits straight and flush across the full width of the ramp (16).
Attention: Check the frame from the front and from above before the glue sets. The ribs, cross supports and coping must remain straight and parallel.
[Image 11 – _DSC0461.jpg]
[Image 12 – _DSC0469.jpg]
[Image 13 – _DSC0479.jpg]
[Image 14 – _DSC0484.jpg]
[Image 15 – _DSC0502.jpg]
[Image 16 – _DSC0509.jpg]
Attach the Deck and Riding Surface
Apply an even line of glue around the upper deck frame (17). Place the deck panel on top and align it with the side walls and coping (18). Next, apply a thin and continuous layer of glue to every rib and cross support that will touch the riding surface (19). Position the flexible transition sheet at the bottom of the ramp and gently bend it over the frame (20). Align the upper edge directly underneath the coping (21), then press the sheet evenly along the full curve (22).
Tip: Work from one end to the other and keep the riding surface centred. Masking tape can help hold the sheet in position while the glue dries.
[Image 17 – _DSC0514.jpg]
[Image 18 – _DSC0519.jpg]
[Image 19 – _DSC0533.jpg]
[Image 20 – _DSC0538.jpg]
[Image 21 – _DSC0541.jpg]
[Image 22 – _DSC0557.jpg]
Finish Your Quarter Ramp
Apply wood glue evenly to the upper deck surface (23). Carefully place the final wooden layer on the deck (24) and press it down across the entire surface (25). Check that all edges sit flush and that the transition runs smoothly into the coping (26). Allow the glue to cure fully according to the glue instructions before using the ramp. Once everything is dry, your Quarter Ramp is ready for the first session (27).
[Image 23 – _DSC0571.jpg]
[Image 24 – _DSC0572.jpg]
[Image 25 – _DSC0578.jpg]
[Image 26 – _DSC0584.jpg]
[Image 27 – _DSC0607.jpg]
Have fun building and riding your new CRESKATE Quarter Ramp!
